

These days, there are many tools that you can use to create salon-grade styling at home. The main thing is to know how to handle them correctly. Lucky for you, my blog has step-by-step guides to help you master any device.
In this article, I’ll show you how to use a curling iron with a clamp to create dainty loose or tight curls. I will also share professional hairstylist secrets that will simplify the styling process for you and protect your curls from high temperatures.
Contents
Guide on How to Curl Hair With a Clamp Curler
I find a curling wand with a clip to be an excellent tool for creating curls. However, it has both pluses and minuses.
To keep disadvantages to a minimum, you should follow the correct technique, which I described in my clamp curling iron tutorial below, as well as use protective products to keep your locks healthy.

Pros and Cons of Curling Iron With a Clamp
As I’ve already written, curling iron, like any other hair styling tool, has both definite advantages and some disadvantages. Among the benefits of devices of this type, I can highlight the following:
- Long-lasting result. As practice shows, styling lasts longer when using a curling tool with a clamp, even if you do not apply fixing sprays and gels.
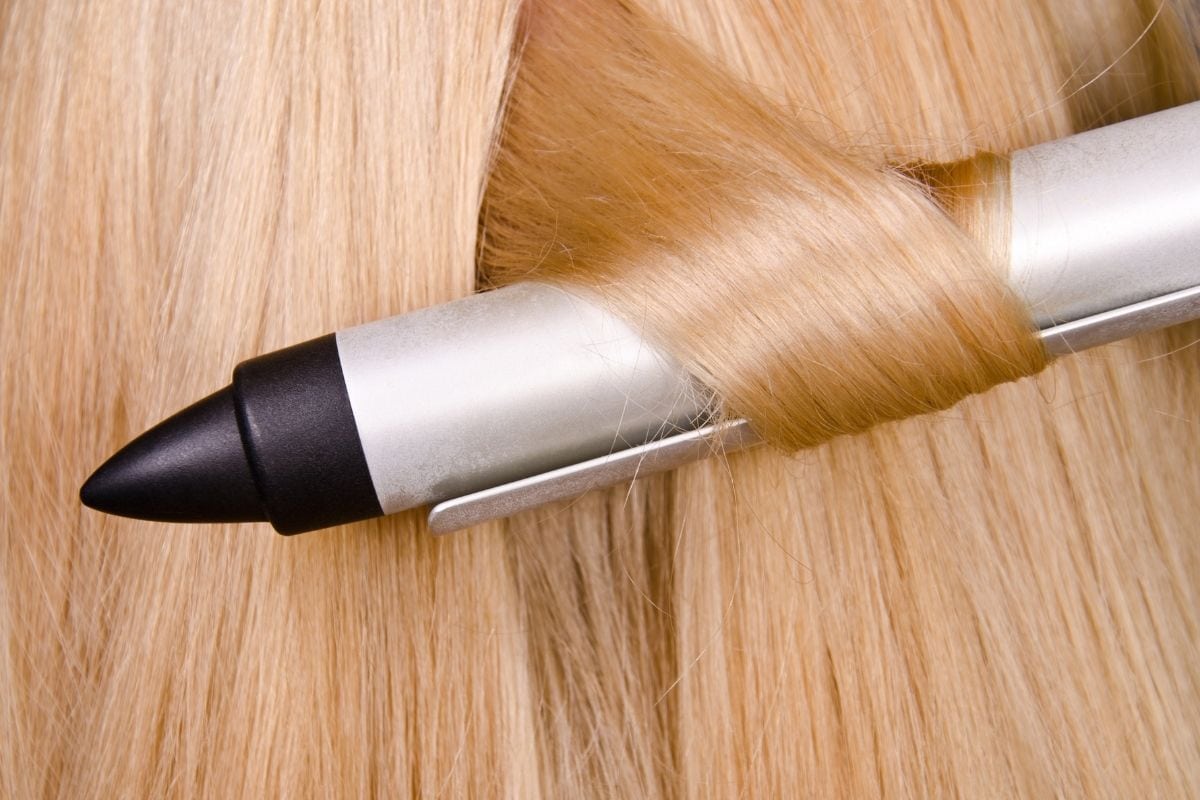
- Clear structure. Thanks to a clip, you can pull a strand on a barrel tighter and create tension, due to which curls look clear and well-structured.
- Versatility. Devices of this kind are suitable for hair of various lengths, types, and textures. They can be used on both ultra-short locks and extra-long strands.
- Multifunctionality. The presence of two contact surfaces (a barrel and a clamp) makes such tools suitable for both curling and straightening.
- Safety. Thanks to a special clamp, you do not need to hold strands with your bare hands, significantly reducing the likelihood of burns.
- Too “slicked” result. This is actually both a plus and a minus. I know from my own experience that sometimes there is a mood for loose and casual style. With clamp irons, it might be tricky to achieve. As a rule, you always get uniform and “perfect” curls.
- Crimped curls. Unnatural clamp marks can appear on the hair if a device is tilted incorrectly.
- Possibility of heat damage. Since a strand lays really tight on a barrel, there is always the possibility of overheating it. It can take too long for inexperienced users to process each strand.
Both of these shortcomings can be minimized. For example, you can mess up too “ideal” styling with your fingers, and special sprays can protect your strands from overheating.
Mastery comes with experience. A few tries — and you will be able to create your dream hairdo with a curling iron with a clip.
How to Use a Curling Iron With a Clamp?
Wash your hair with a mild shampoo before styling. Curling should only be carried out on clean strands, as curls will not hold on dirty and greasy hair.
Besides, natural grease, combined with sprays and heat protectants, leaves a coating on devices, which is why they fail faster. That is why they should be cleaned regularly and properly.
Also, in no case should you use thermal styling devices on wet or even slightly damp strands. They should be thoroughly dried. It is possible to either let them dry naturally or blow dry them. If you handle wet curls, you will simply burn them.
Step 1: Preparation
After washing and drying your hair from roots to ends, brush it thoroughly to avoid tangles. Apply the thermal protection that is optimal for your hair type.
These can be serums, mousses, and even homemade sprays. Apply the product to the part of the hair to be processed, and pay special attention to tips.
Step 2: Divide hair into sections
To process all the locks evenly and not miss any strands, you should divide your hair into several large sections. Use hair pins or elastic bands to fix them.
Usually, professionals divide hair into four sections: two on the sides, one in the front, and one in the back. Strive to ensure that these parts are approximately the same. You can do more sections if you have really thick or naturally coily hair.

Step 3: Warm up your instrument
Depending on the hair type, pick the temperature setting on your device. Remember, the thinner your hair, the less heat there should be. This rule also applies to dyed and damaged locks.
If you don’t have much experience with a clip iron, start with the lowest temperature and gradually increase it until you get the desired effect. It is better not to heat the device enough than to overheat it.
Step 4: Curl your hair with a clamp curling iron
When styling your hair with a clamp iron, there are several methods depending on what result you want to achieve. However, in their basic mechanics, they are similar to each other.
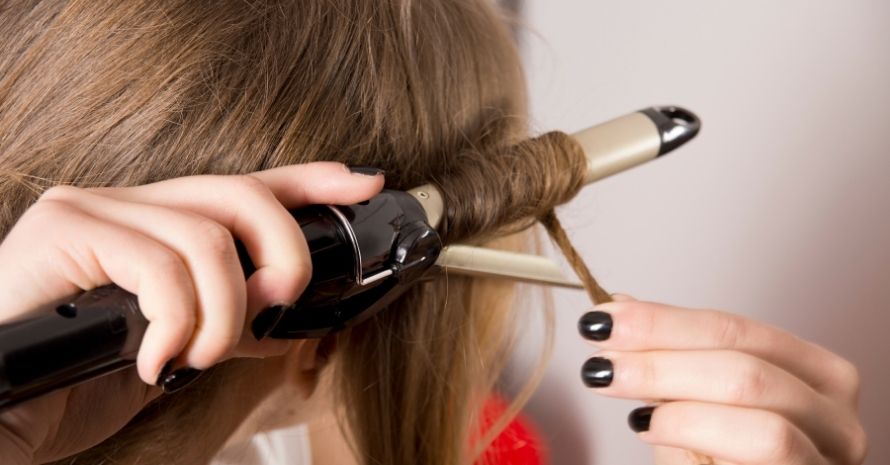
Divide one of the sections into several smaller strands, 1-2 inches wide. Take one part and wind it around the barrel, moving from tips to roots while keeping the tool parallel to the floor.
Hold the lock for 5-10 seconds and release it. The time can be increased if you have thick or long hair. If you want the curl to be more defined, secure it temporarily with a hairpin. Thus, all hair should be treated.
Step 5: Fix the result
When all the strands are evenly curled, give them a little shake to loosen them up. It will make your hair look more casual and natural. To keep the result for a long time, use a fixing spray.
Tips on Using a Clamp Iron for Different Hairstyles
Creating different hairdos requires a different approach to styling. There are several basic techniques that you can easily master.
Beach waves
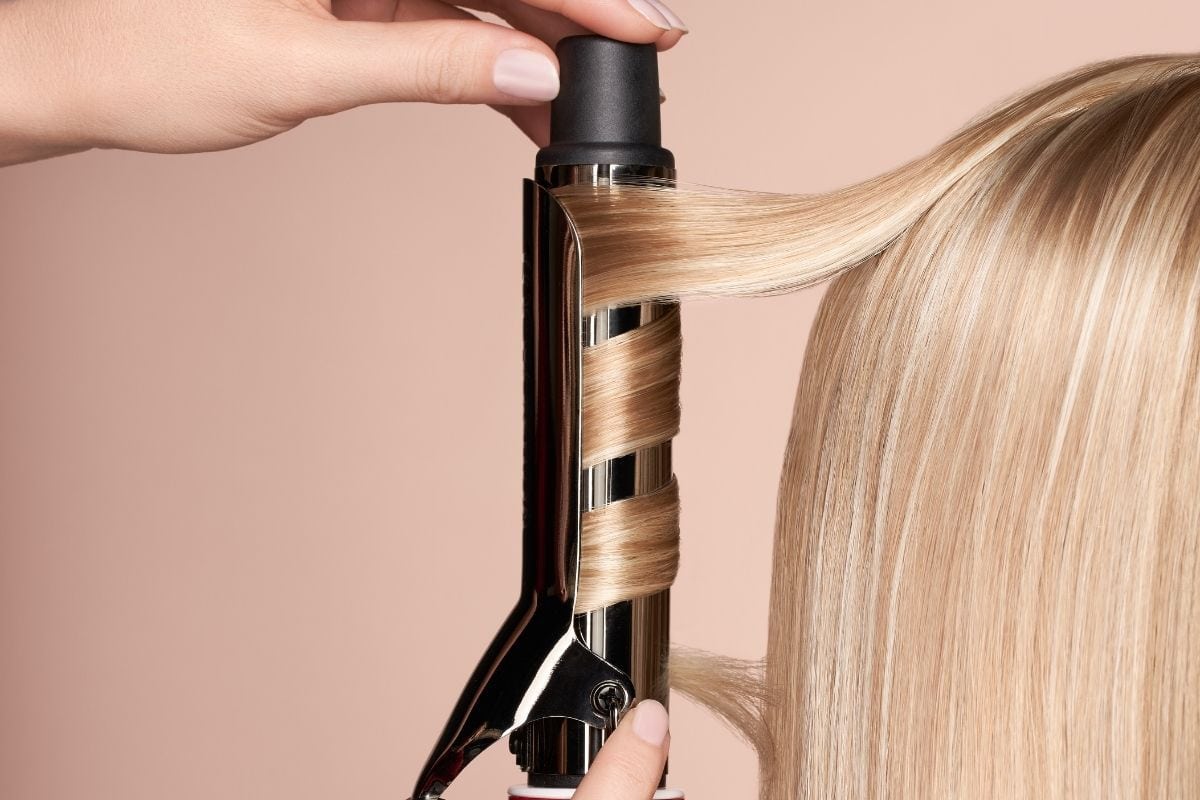
The beach waves style is the most loved option by many. With it, you can create a “relaxed” look, as if you didn’t spend much time winding curls at all. For it, you will need a large diameter curling iron, such as 2- or 1 ½- inches.
The secret is not to keep the strands under heat for too long. Hold the device slightly tilted or vertical. Do not stay in one place for more than 5 seconds, and you will get loose waves. Apply sea salt spray to the strands and tousle them with your hands to enhance the effect.
Loose curls
This option is a cross between beach waves and tight curls. The styling also looks relaxed, but the coils are more explicit and structured. Choose the tool size depending on your hair length.
Process the strands from roots to tips towards the back of your head. You can pin each lock with hairpins to make the curls look more pronounced.
Do not try to completely curl a strand from the tips to the roots. Leave the root zone and the lower part of the strands unfinished for a more natural look.
Tight curls
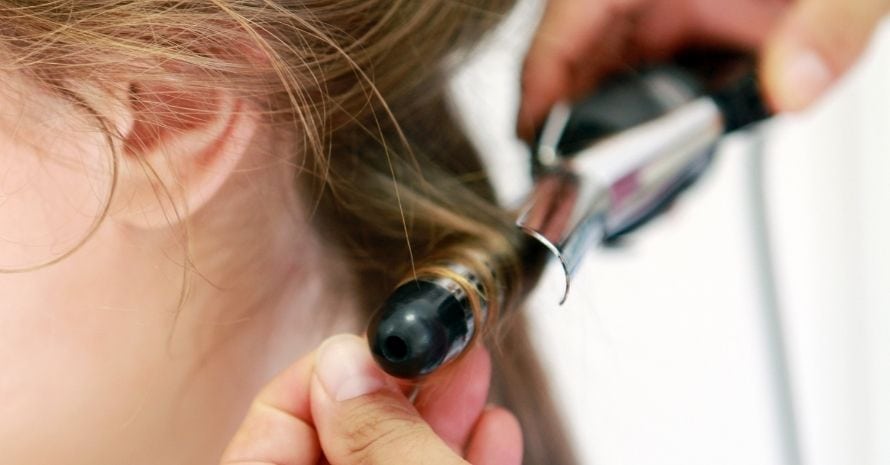
This hairstyle creates the most solemn vibe. The tighter curls you want to get, the smaller the device diameter you need to take. For this style, you can hold the locks on the barrel a little longer to let the heat seep into each hair.
If you want the styling to look a little chaotic, change the direction in which you wind strands. At the same time, try to put the device as close to the roots as possible. And do not forget to fix the result with an appropriate spray.
FAQ on How to Curl Hair With a Clamp Curler
See below for more information on how to use this excellent styling tool.
How to avoid clamp marks when curling hair?
You need to hold the tool at the right angle to do it. It should be placed horizontally for classic styling and diagonally or even vertically for looser looks. In this case, a clamp should be located on the side or below a strand. Your movements should be fluid to avoid crimped curls.
Can you use a clamp iron as a wand?
Yes, this option is acceptable, especially if you want to make beach waves. Just don’t let go of the clip lever when winding the lock around the barrel. To avoid burns, I recommend using heat protectant gloves.
Are curling irons with clamps better?
I generally find them more comfortable and suitable for beginners than wands. Of course, there are some features in their use. However, these tools are easier to master than other hair styling devices.
What is the clamp on a curling iron for?
It is necessary so that you can pinch locks when curling and not hold them with your hand. Besides, you can wind a strand more tightly around the barrel and make more pronounced curls with it.
Achieve the Best Result with Your Clamp Iron
Using a curling iron with a clip is not as difficult as it might seem at first glance. On the contrary, it is one of the most accessible methods. Follow my guide to experiment with styling and create unique looks.
Keep in mind that even with the use of heat protectants and choosing the correct temperature settings, you shouldn’t treat your hair with heating devices too often. To keep your curls healthy, take regular breaks.
If you still have concerns, please ask me in the comments. Or share your tips for perfect styling. How exactly do you curl your hair?
Also read:


